Discover the power and style of Omega ovens, expertly installed for homes across Perth. At Sarros Appliances, we make upgrading your kitchen simple—with complete, end-to-end oven packages that set us apart.
Your One-Stop Omega Oven Shop:
Find the perfect Omega oven for your space and let Sarros Appliances handle the rest—no stress, no fuss, and always with a friendly local touch.
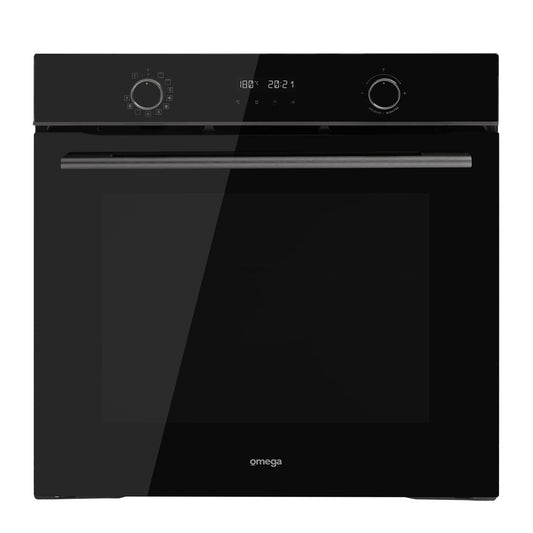
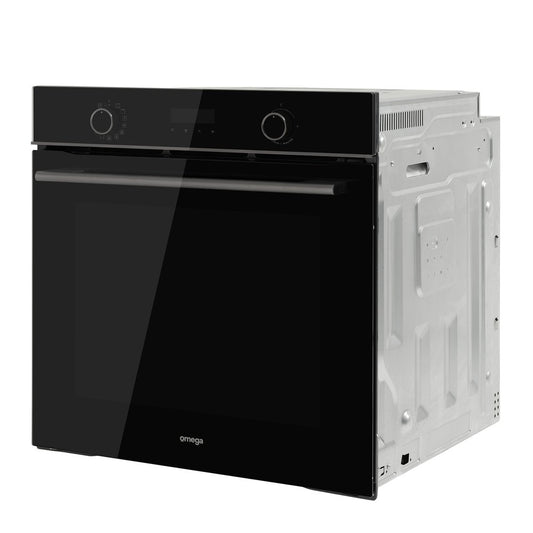
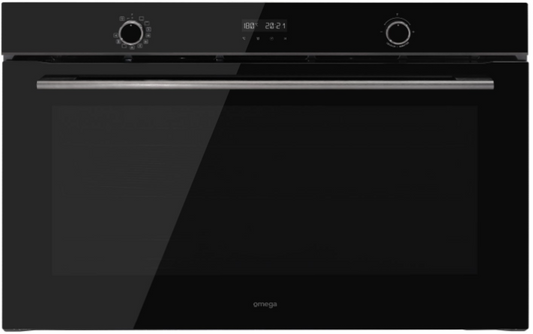
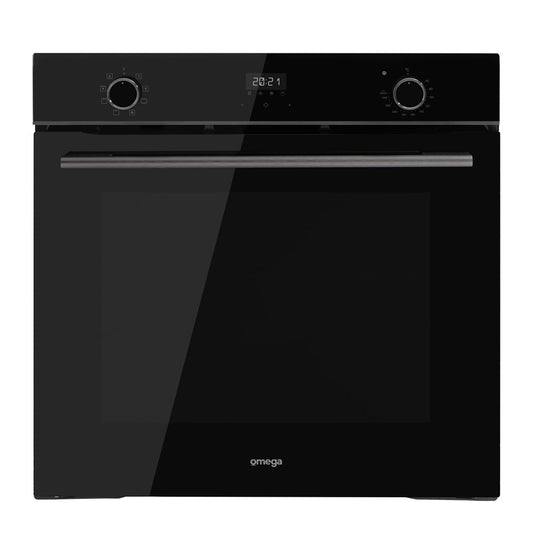
Omega ovens are the smart choice for Perth homes seeking a perfect mix of performance, modern design, and everyday value. With features like AirFry, multi-function baking, and sleek fingerprint-resistant finishes, Omega makes it easy to achieve delicious results—no matter what’s on the menu.
Confidently cook for the family or entertain a crowd with spacious, easy-to-clean ovens built for Australian kitchens. Choose Omega for quality, style, and reliability—all backed by trusted local support.
Installation Of Your Omega Oven
Free Site Assessment
Free optional site assessment.
We attend site to check the following;
Dimensions, Power supply and switchboard requirements.
Step 1
Removal of old Oven
Isolate the power
Unscrew and carefully remove the old oven
Take away old oven, ready for safe disposal
Step 2
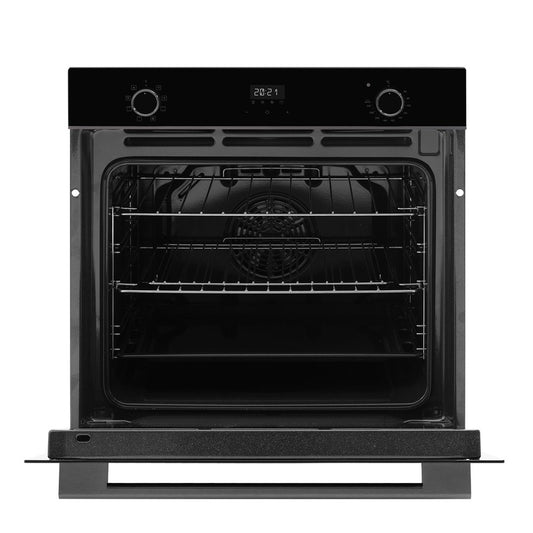
Installing the new Oven
Unpack & inspect your Technika oven for any damage or missing parts.
Remove any packaging from inside the oven (shelves, pans, ties).
Hardwire new oven into dedicated circuit
Slide the oven into the cabinet cut-out—use the sturdy handles/sides.
Align the oven front with the cabinet—it should sit flush or slightly proud depending on your style and the model.
Secure the oven:
Open the oven door—inside the door frame are fixing holes.
Use provided screws to fix the oven sides or bottom to the cabinet.
Step 3
Commissioning new Oven
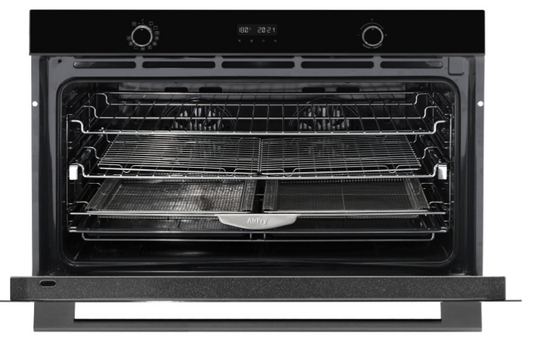
Reinstall shelves, trays, and racks as per manual.
Un-isolate power and test oven
Set your oven clock and run an initial heating cycle:
Heat empty at 180°C for 30 minutes to burn off any factory residues (ventilate room—expected slight smell/smoke for first use).
Step 4
Important Safety Notes:
Ventilation and clearances are crucial for safe operation and long oven life.
Never use an extension cord for an oven—even if plug-and-play.
If unsure, always hire a licensed electrician and/or trades.
Carefully follow anything your Technika manual says that’s different—this guide is general.